Whether you are constructing a new home or repainting a
room, sanding is usually a primary step in the process if you want a flawless,
level 5 paint job. And although drywall sanding is messy, tedious, and a bit stressful
to implement correctly, everyone who has done it before says that taking your
time is worth the results in the end. Continue reading to learn some important
drywall sanding tips, and where to find top of the line sanding products near
you.
Drywall sanding doesn’t have to be a hassle. Simply avoid
the common drywall mistakes, take your time, and most importantly, use quality
abrasives for the job. Try these helpful tips on your next drywall project to
ensure a smooth process and easy cleanup!
Use the Proper Tools
It is important to use the proper sanding tools for the job,
and more important to use top-quality products. The supplies and products you
need will vary depending on the size and condition of your project. In the very
least, you will need sandpaper, a sanding sponge, a hand sander, double-strap
dust mask, eye goggles, covers or tarps, and a hat or scarf for your hair.
Use Hand Sanders
A hand sander will only set your wallet back a few dollars.
Most hand sanders that are well-suited for DIY drywall sanding are very
inexpensive and available at any local hardware or home improvement store.
Prices for these kinds of hand sanders generally range in price from $6 to $14
depending on retailer and brand.
Use Pre-Cut Sandpaper
As for sandpaper, it helps to purchase a pre-cut product that
fits your hand sander. For drywall, you will likely need a fine grit sandpaper.
Using a heavier grit may seem like it will speed up the process, but it will
actually result in visible sanding marks. A 120 to 150-grit sandpaper, which
can be purchased at any home improvement or hardware retailer, usually works
best for these kinds of projects. Prices vary depending on how many sheets you
purchase and the brand. Generally, bundles are more expensive, but better
deals.
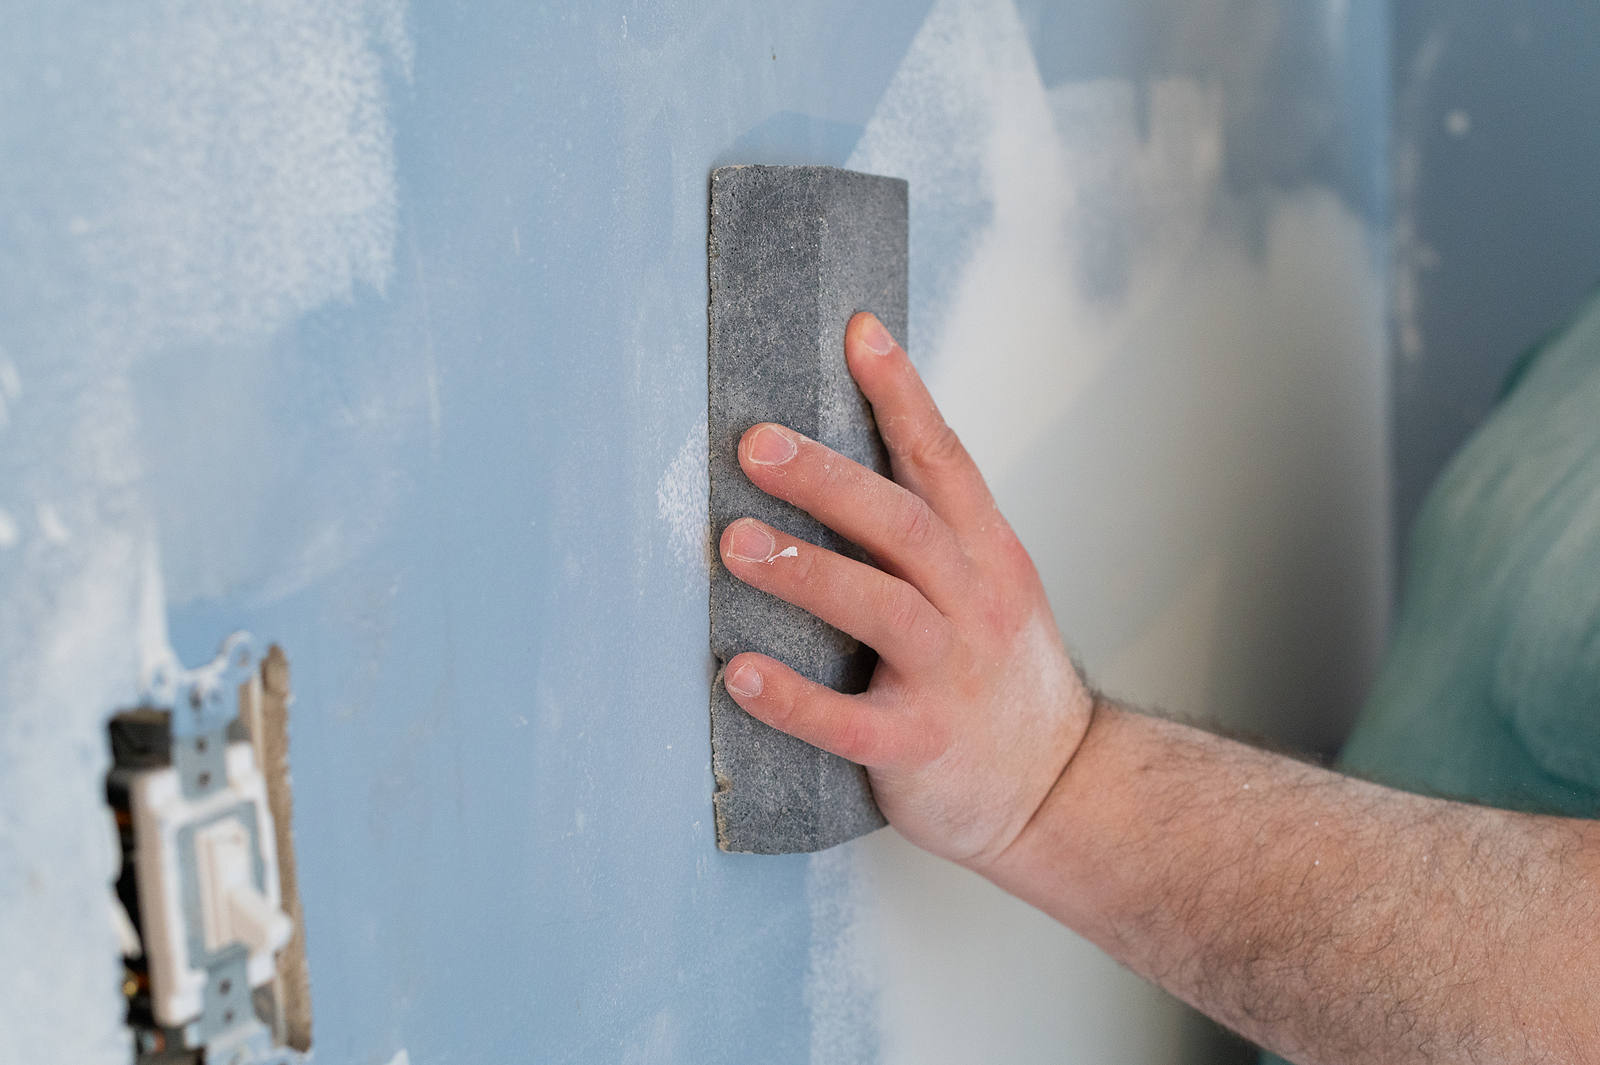
Use Light Sanding Pressure
When sanding your drywall, be sure to use light and gentle
pressure around delicate areas. Using too much pressure can result in an uneven
surface appearance, and just create more work for you ahead. Take your time
around the edge of seams, as well as, around screws and other wall fixtures. If
you use too much pressure in these areas, you can risk damaging the drywall and
creating what is known as a “fuzzing” effect. As for center seams, sand only
enough to remove bumps and folds.
Do Not Sand Gouges
When you have large gouges or depressions in drywall, do not
waste your time trying to sand them down to level. Instead, fill them to reduce
workload and get better results. Simply trowel in a joint compound and allow it
to dry before sanding it smooth. Always use this method for edge seams. If the
groove is very deep, simply use more than one coat of joint compound. Just be
sure to let each layer dry before applying another.
Sand Again After Priming
One of the most overlooked steps of the drywall and painting
process is the repetition of sanding after primer is applied. It is a vital
step that will make or break the final results of your paint job. Not only does
it remove rogue fuzz, lent, and dust, it allows you to take care of last minute
fill-ins with your joint compound. If you want professional level results, do
not skip this step!
Contact
Sandpaper America at 1-800-860-7263 (SAND) to buy high-quality,
economically-priced sandpaper
products in Indiana. We manufacture our abrasives in-house, so you can be
sure that your products are high quality. Call to place an
over-the-phone order or go online and buy directly from our website! We offer
custom orders, bulk orders, reoccurring orders, invoicing, and much more!
You Might Also Like:
What
You Need to Know When Prepping to Sand Drywall
The
Most Common Types of Sandpaper
Basic
Tips for Sanding Wood Floors
